Speedometer Inoperative
- Vehicle speed sensor signal is sent to PCM. PCM buffers signal and feeds a pulse train to IPC of 4000 pulses per mile through Red/White wire circuit. IPC supplies system voltage to Red/White wire circuit, and PCM pulses this circuit to ground to transmit speed signal. IPC uses this pulse data value to calculate and display vehicle speed.
- Enter self-diagnostics. See ENTERING SELF-DIAGNOSTICS
under SELF-DIAGNOSTICS. If Code P024 is set, repair this problem first. See CODE P024 in appropriate G - PCM TESTS W/ CODES article in the ENGINE PERFORMANCE Section. If Code P024 is not set, raise drive wheels and properly support vehicle. Start engine and re-enter self-diagnostics if necessary. For 4.9L, go to step 4). For 4.6L, go to next step.
- On 4.6L, disable traction control system by selecting PCM override test PS24. Press WARMER button. Message TRACTION DISABLED should be displayed in DIC. Go to next step.
- Select IPC data parameter ID60 (vehicle speed). Put shifter in Drive position, and allow wheels to rotate at engine idle. If parameter ID60 data value is zero, go to step 6). If parameter ID60 data value is greater than zero, compare data value to speedometer display. If speedometer is inoperative, replace IPC. See INSTRUMENT PANEL CLUSTER
under REMOVAL & INSTALLATION. If speedometer is about 1.07 times more than ID60 value, see IPC MALFUNCTION SYMPTOMS
under SELF-DIAGNOSTICS.
- If one or both readings are erratic and speedometer display is fluctuating while ID60 is constant speed, replace IPC. If ID60 is fluctuating with speedometer display, check terminal connections and wiring circuit for intermittent problem. Check if Red/White wire is near secondary ignition wires, and move it as required.
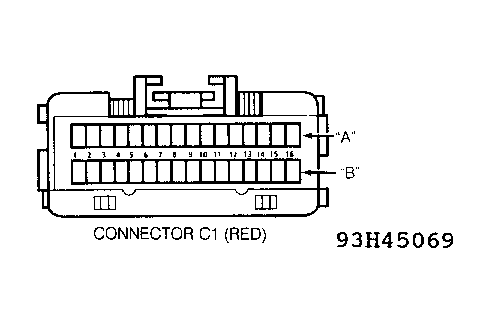
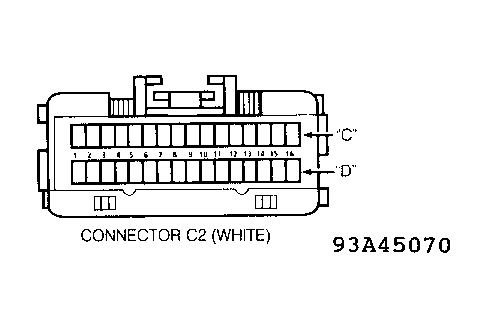
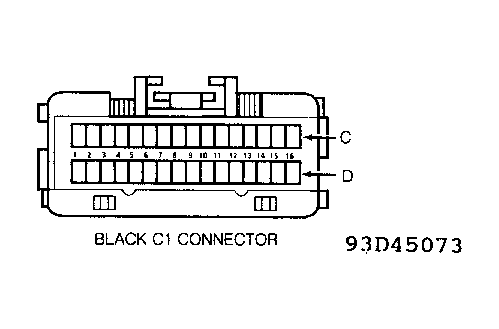
- Using DVOM with negative probe connected to ground, backprobe IPC White connector terminal C4 while wheels are turning. See Figure
. If voltage varies with speed, check connections at IPC terminal C4. If connections are good, replace IPC. See INSTRUMENT PANEL CLUSTER
under REMOVAL & INSTALLATION.
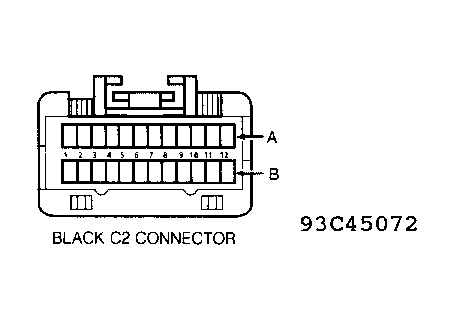
- If voltage is fixed at zero volts, go to next step. If voltage is fixed at 12 volts, turn engine off. Turn ignition on and disconnect PCM connector C2. See Fig 1
-10. PCM is mounted to right kick panel. Using DVOM connected to ground, measure voltage at PCM connector C1 terminal B11 (4.6L) or connector C2 terminal B11 (4.9L). If battery voltage is present, replace PCM. If zero voltage is present, repair open in Red/White wire circuit between IPC and PCM. Go to next step.
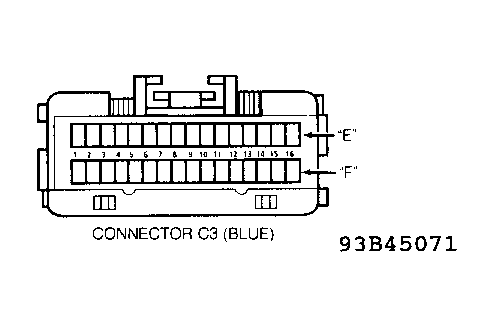
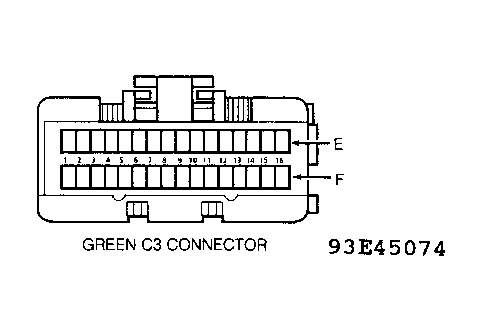
- Disconnect PCM connector C1 (4.6L) or C2 (4.9L). Using DVOM with negative probe connected to ground, backprobe IPC connector terminal C4. See Figure
. If DVOM reading is now system voltage, replace PCM. If DVOM reading is zero volts, turn ignition off. Disconnect IPC connector. Ensure PCM connector is still disconnected.
- Using DVOM, measure resistance between IPC connector terminal C4 and ground. See Figure
. If resistance is less than 1000 ohms, repair short to ground in Red/White wire. If resistance is 1000 ohms or more, check connections at IPC terminal C4. If connections are good, replace IPC. See INSTRUMENT PANEL CLUSTER
under REMOVAL & INSTALLATION.
 Courtesy of GENERAL MOTORS CORP.
 Courtesy of GENERAL MOTORS CORP.
 Courtesy of GENERAL MOTORS CORP.
 Courtesy of GENERAL MOTORS CORP.
 Courtesy of GENERAL MOTORS CORP.
 Courtesy of GENERAL MOTORS CORP.