- Align and install column (1) into the steering coupler. See Fig 1.
 Courtesy of CHRYSLER LLC
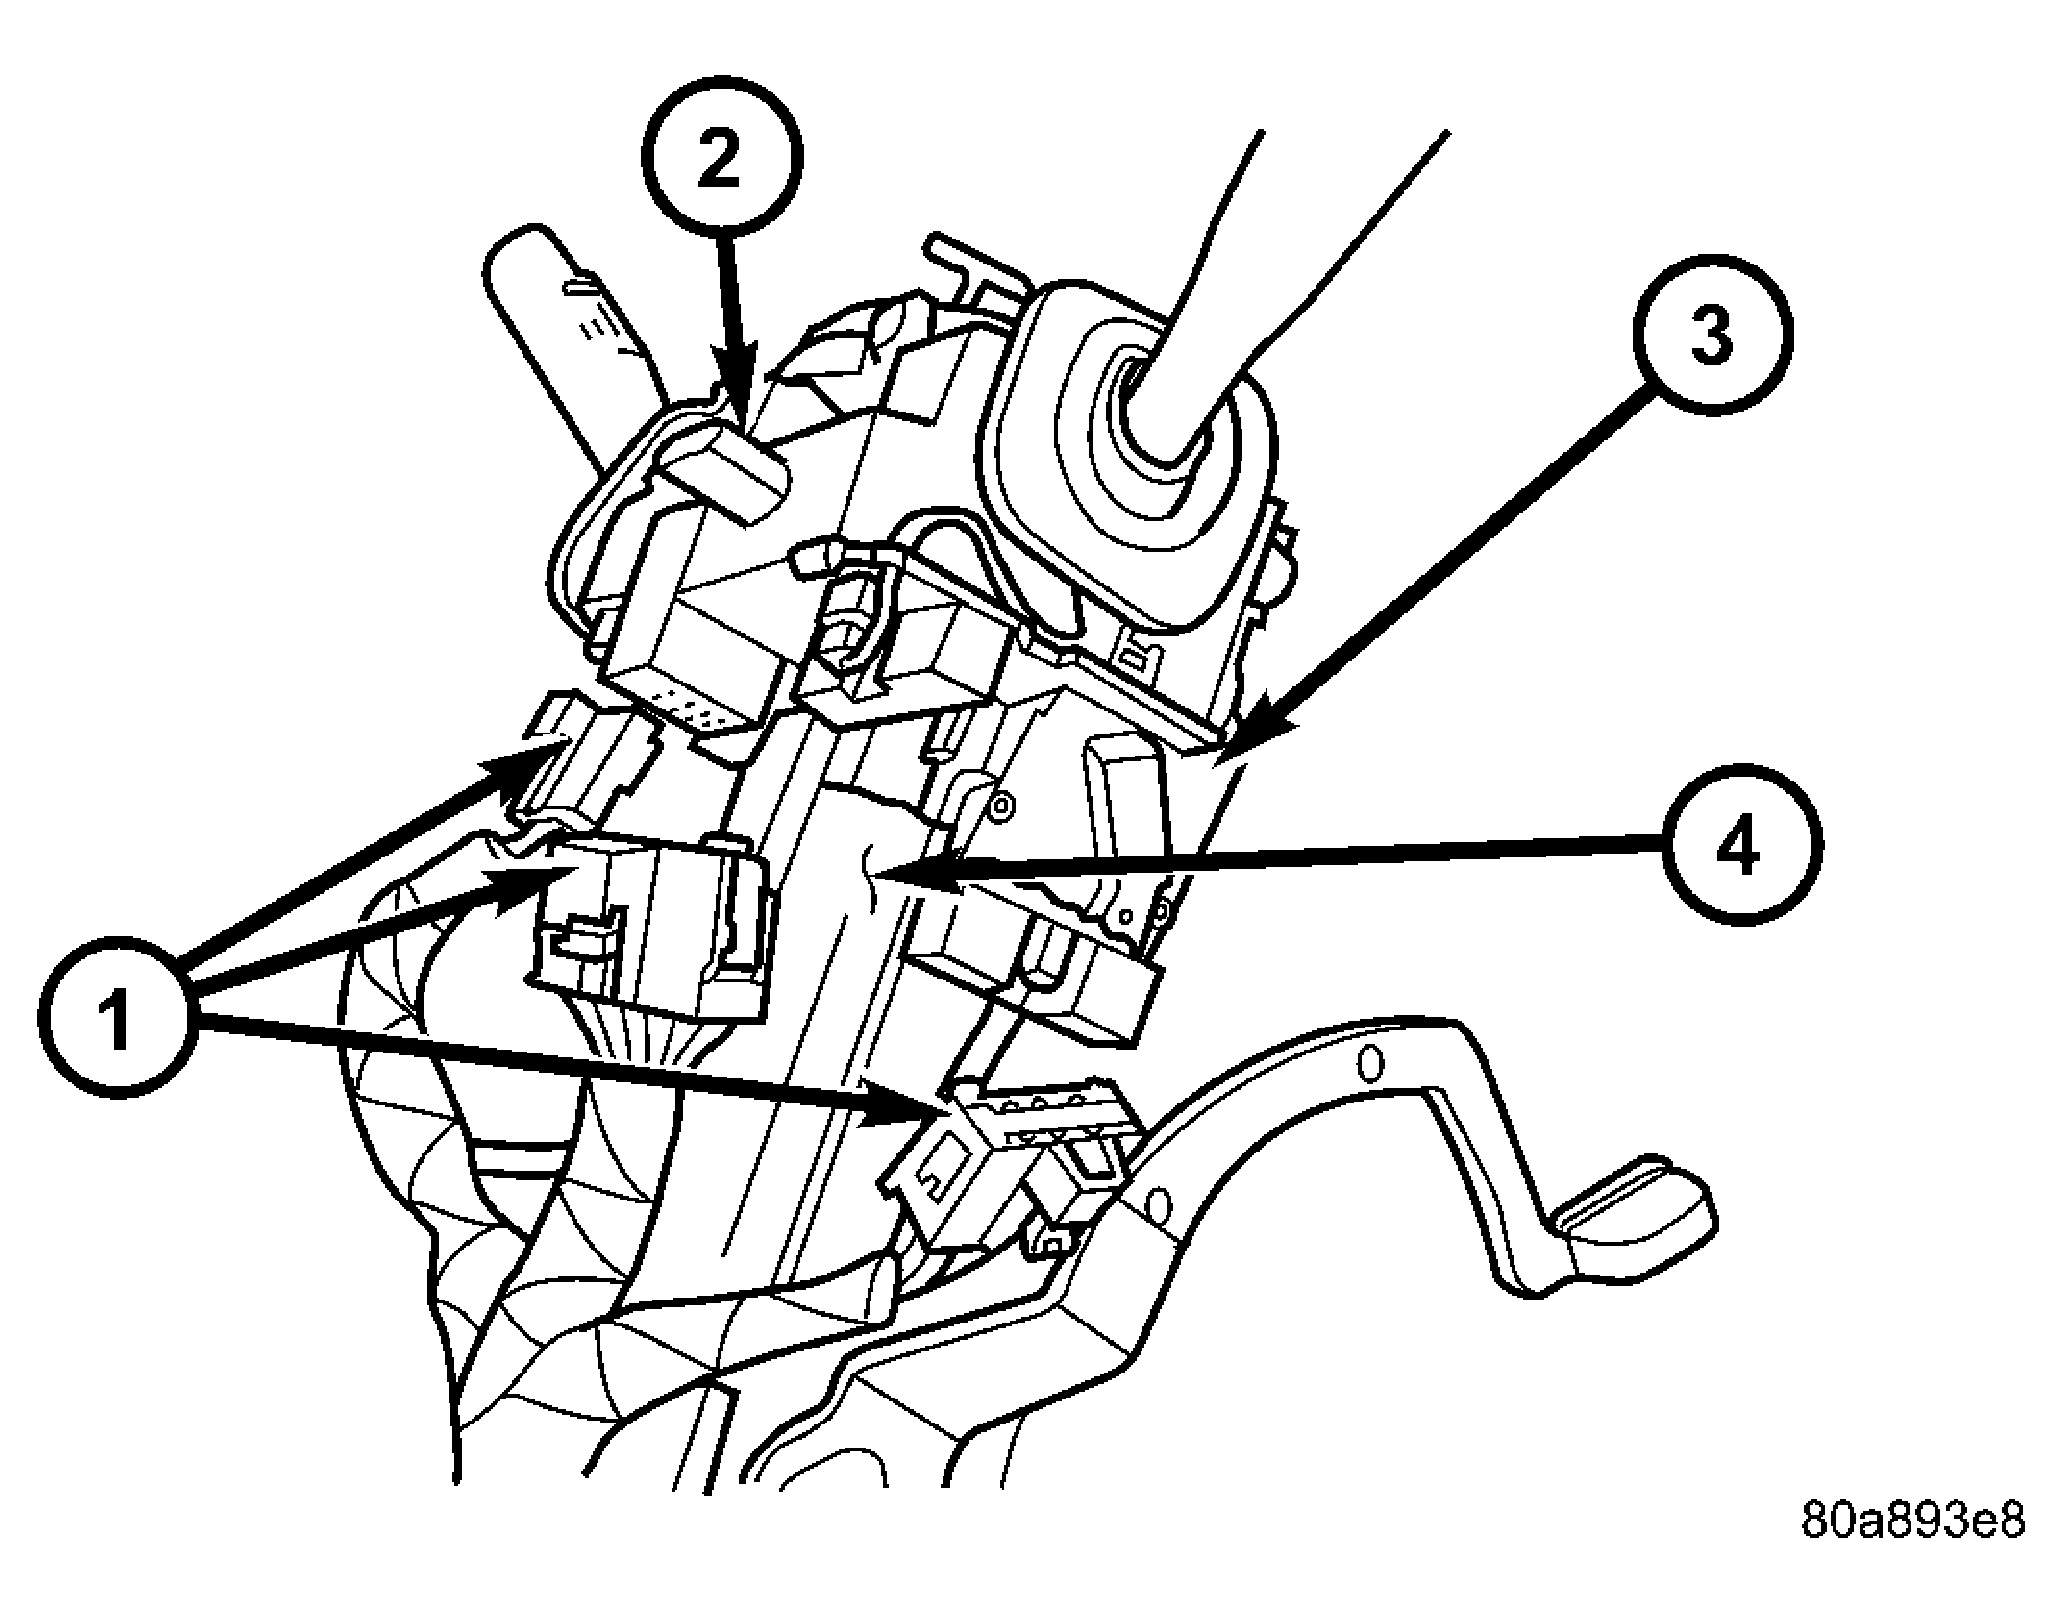
| 1 - Steering Column |
| 2 - Mounting Holes |
 Courtesy of CHRYSLER LLC
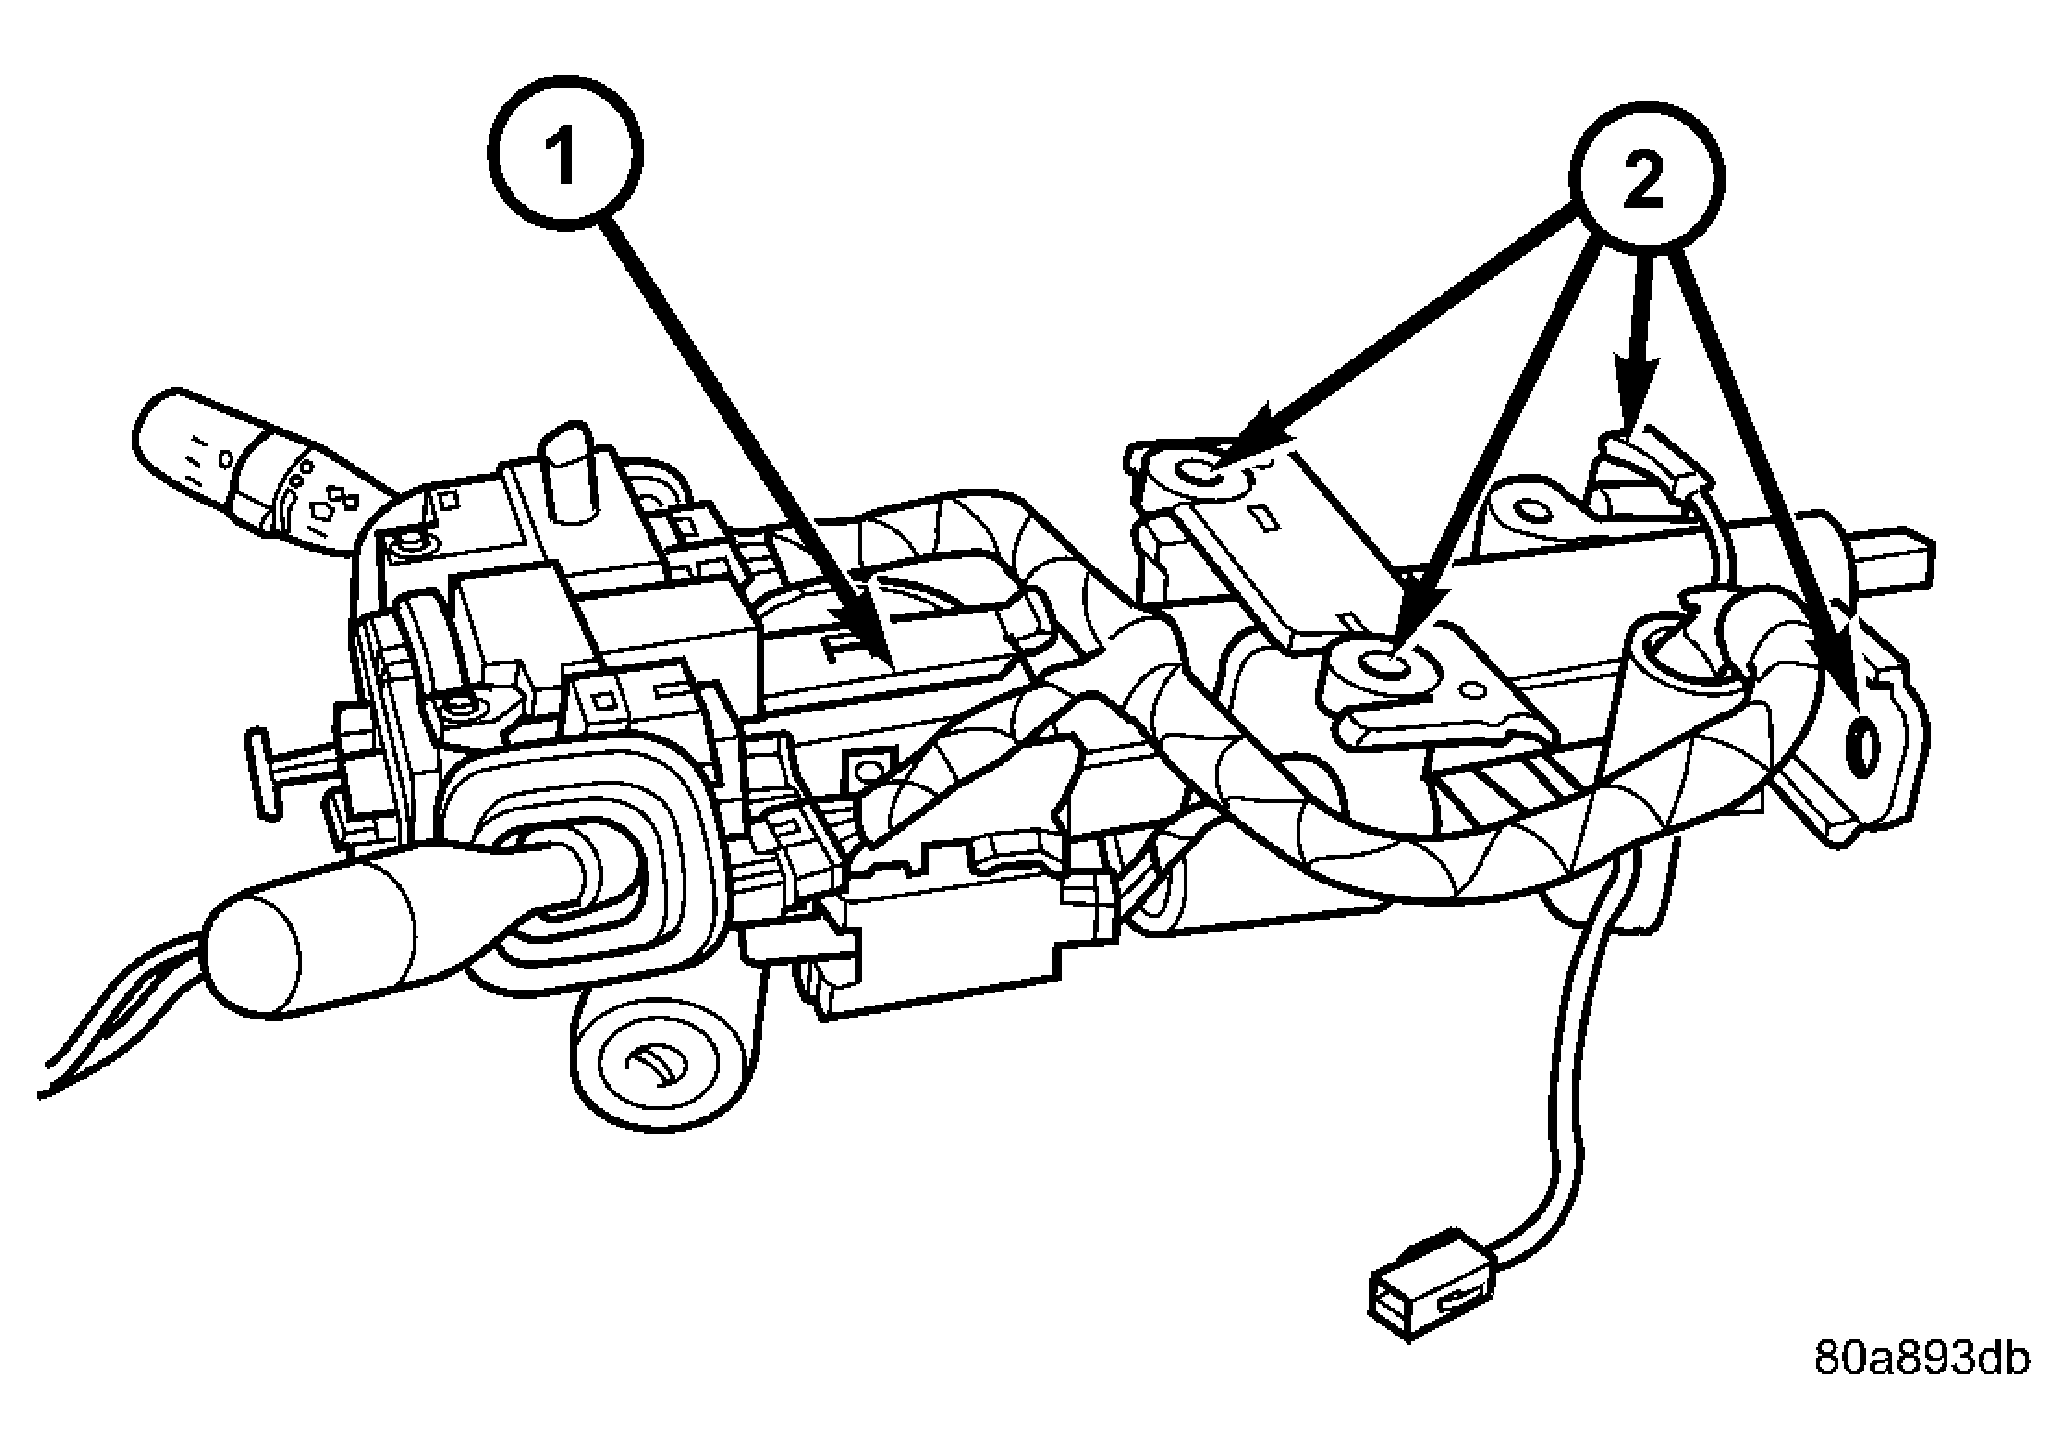
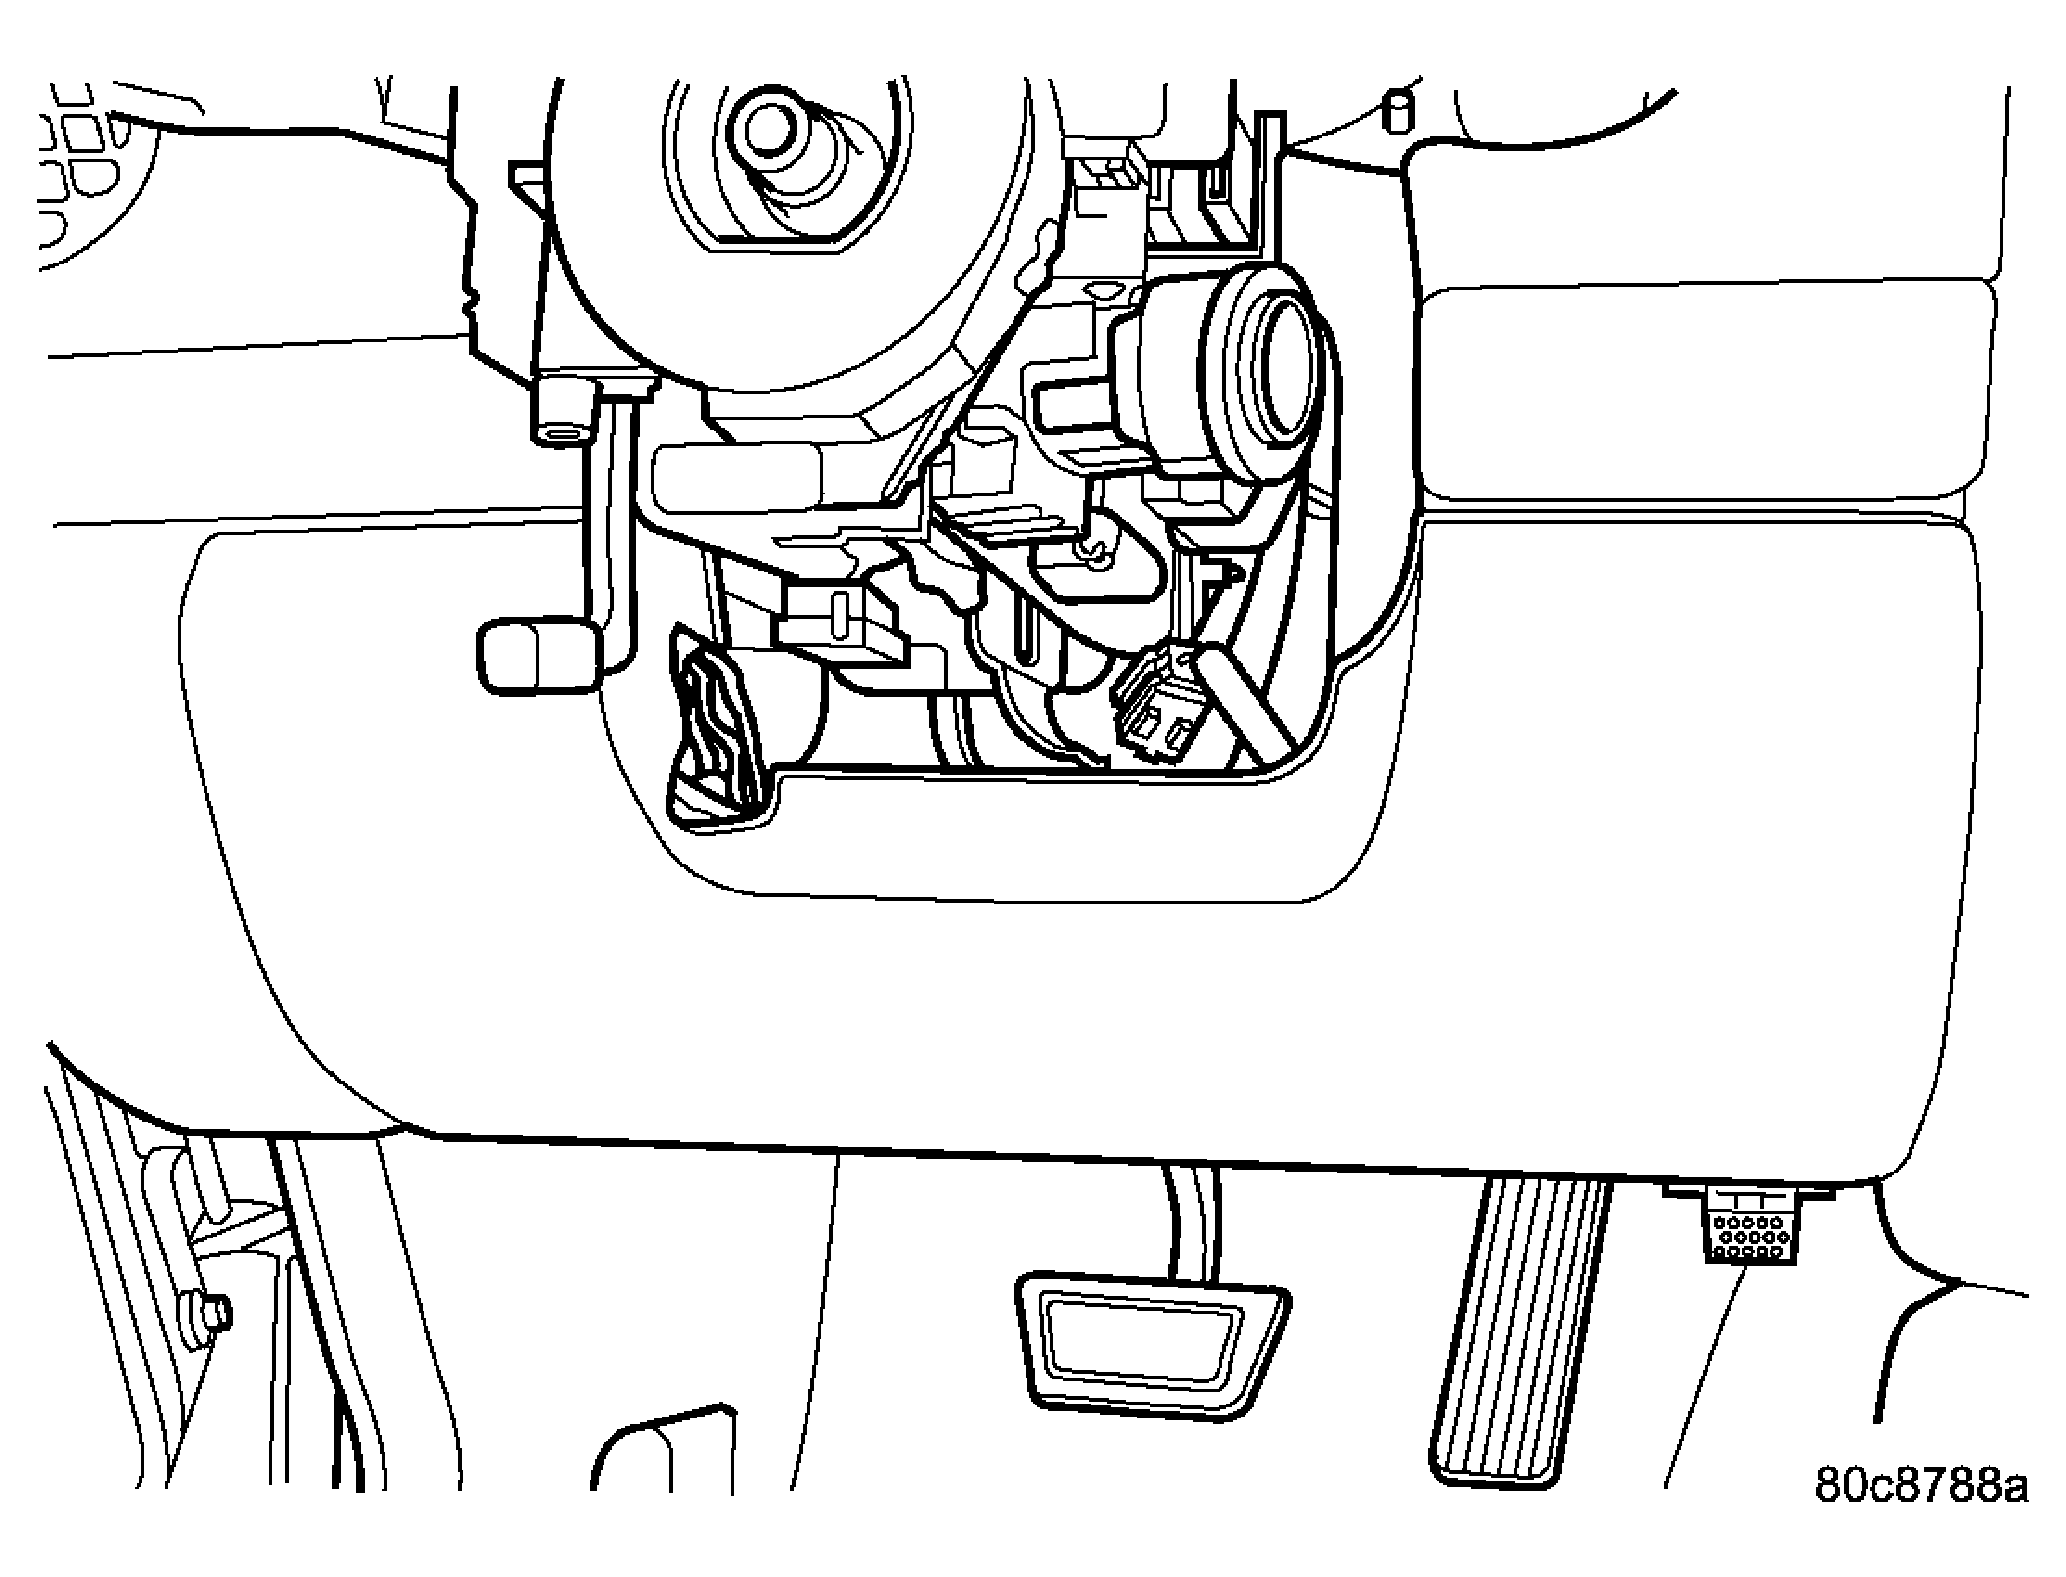
| 1 - Column Wiring Harness |
| 2 - Multi-function Switch |
| 3 - Ignition Switch |
| 4 - Steering Column |
- Install column harness (1) and connect harness to switches. See Fig 2.
- Reroute the shifter interlock cable through the tie straps.
Courtesy of CHRYSLER LLC
| 1 - Steering Column |
| 2 - Mounting Holes |
- Install the column (1) onto the mounting studs (2). See Fig 1.
- Install the two mounting nuts and the two mounting bolts all finger tight.
CAUTION:
Lower nuts must be installed and tightened first then the upper nuts in order to prevent damage to the capsules.
- Tighten the lower mounting nuts to 17 N.m (150 in. lbs.).
- Tighten the upper mounting nuts to 17 N.m (150 in. lbs.).
 Courtesy of CHRYSLER LLC
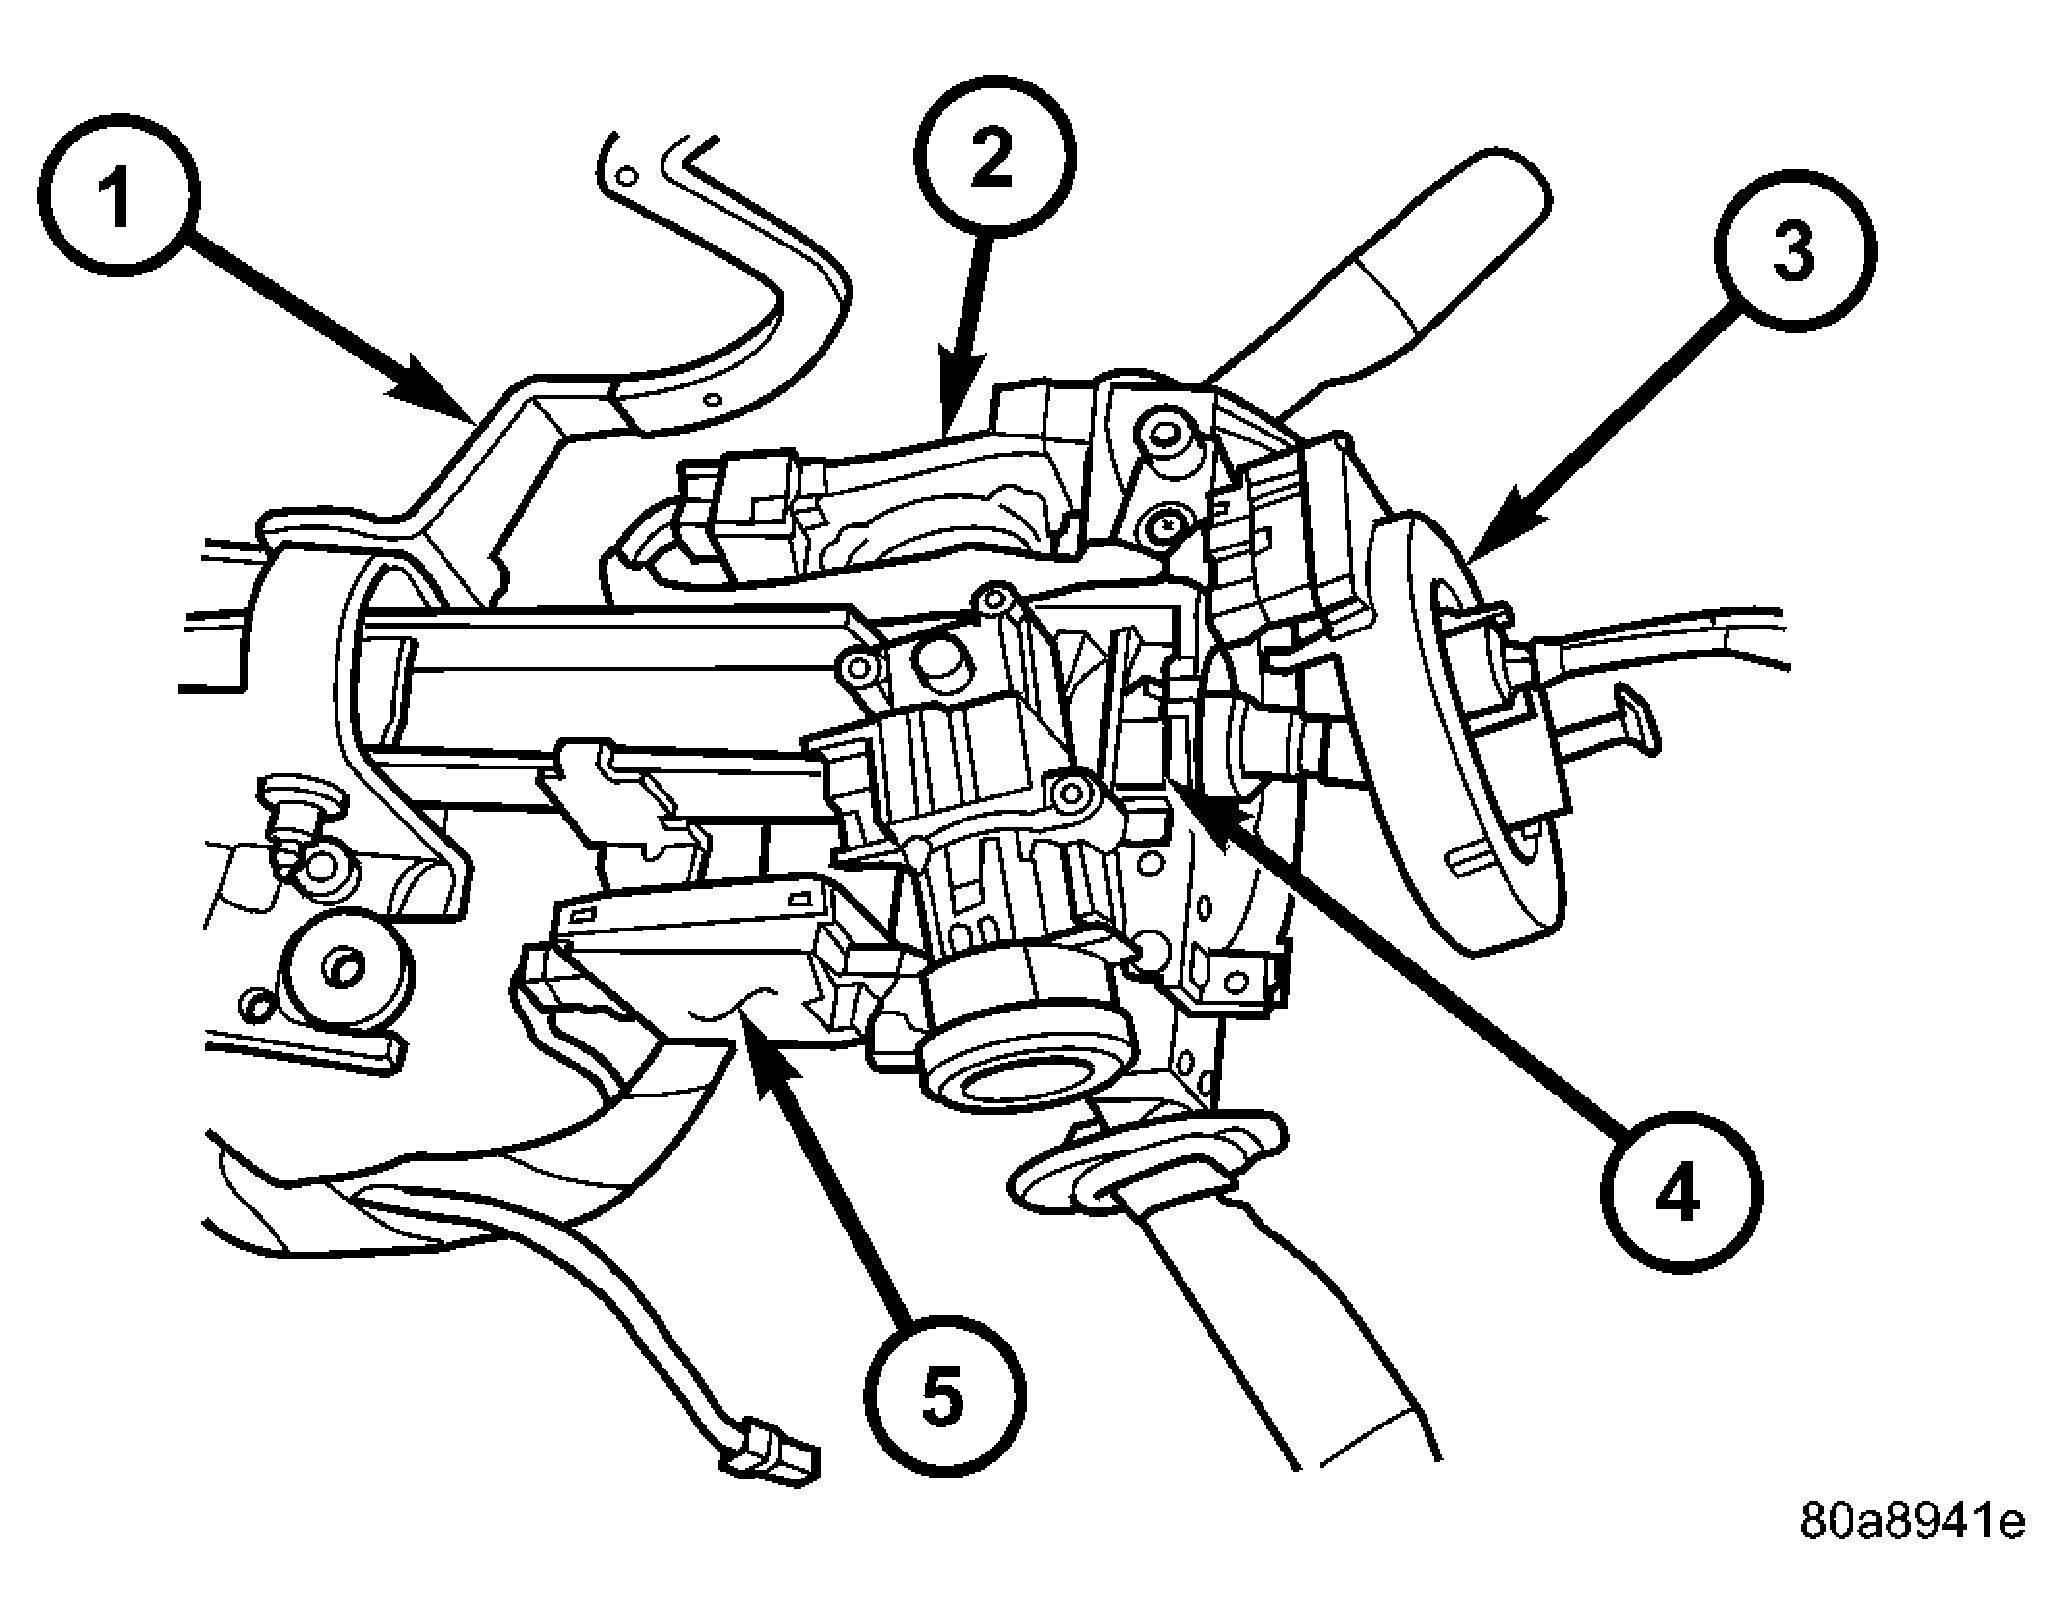
| 1 - Tilt Lever |
| 2 - Ignition Switch |
| 3 - Clockspring |
| 4 - Steering Column |
| 5 - SKIM/SKREEM |
- Install the steering column coupler bolt and tighten to 49 N.m (36 ft. lbs.).
- Reconnect the shifter interlock cable.
- Center the clock spring (3) (if necessary) and install it on the column (4). See Fig 4. Refer to INSTALLATION
.
 Courtesy of CHRYSLER LLC
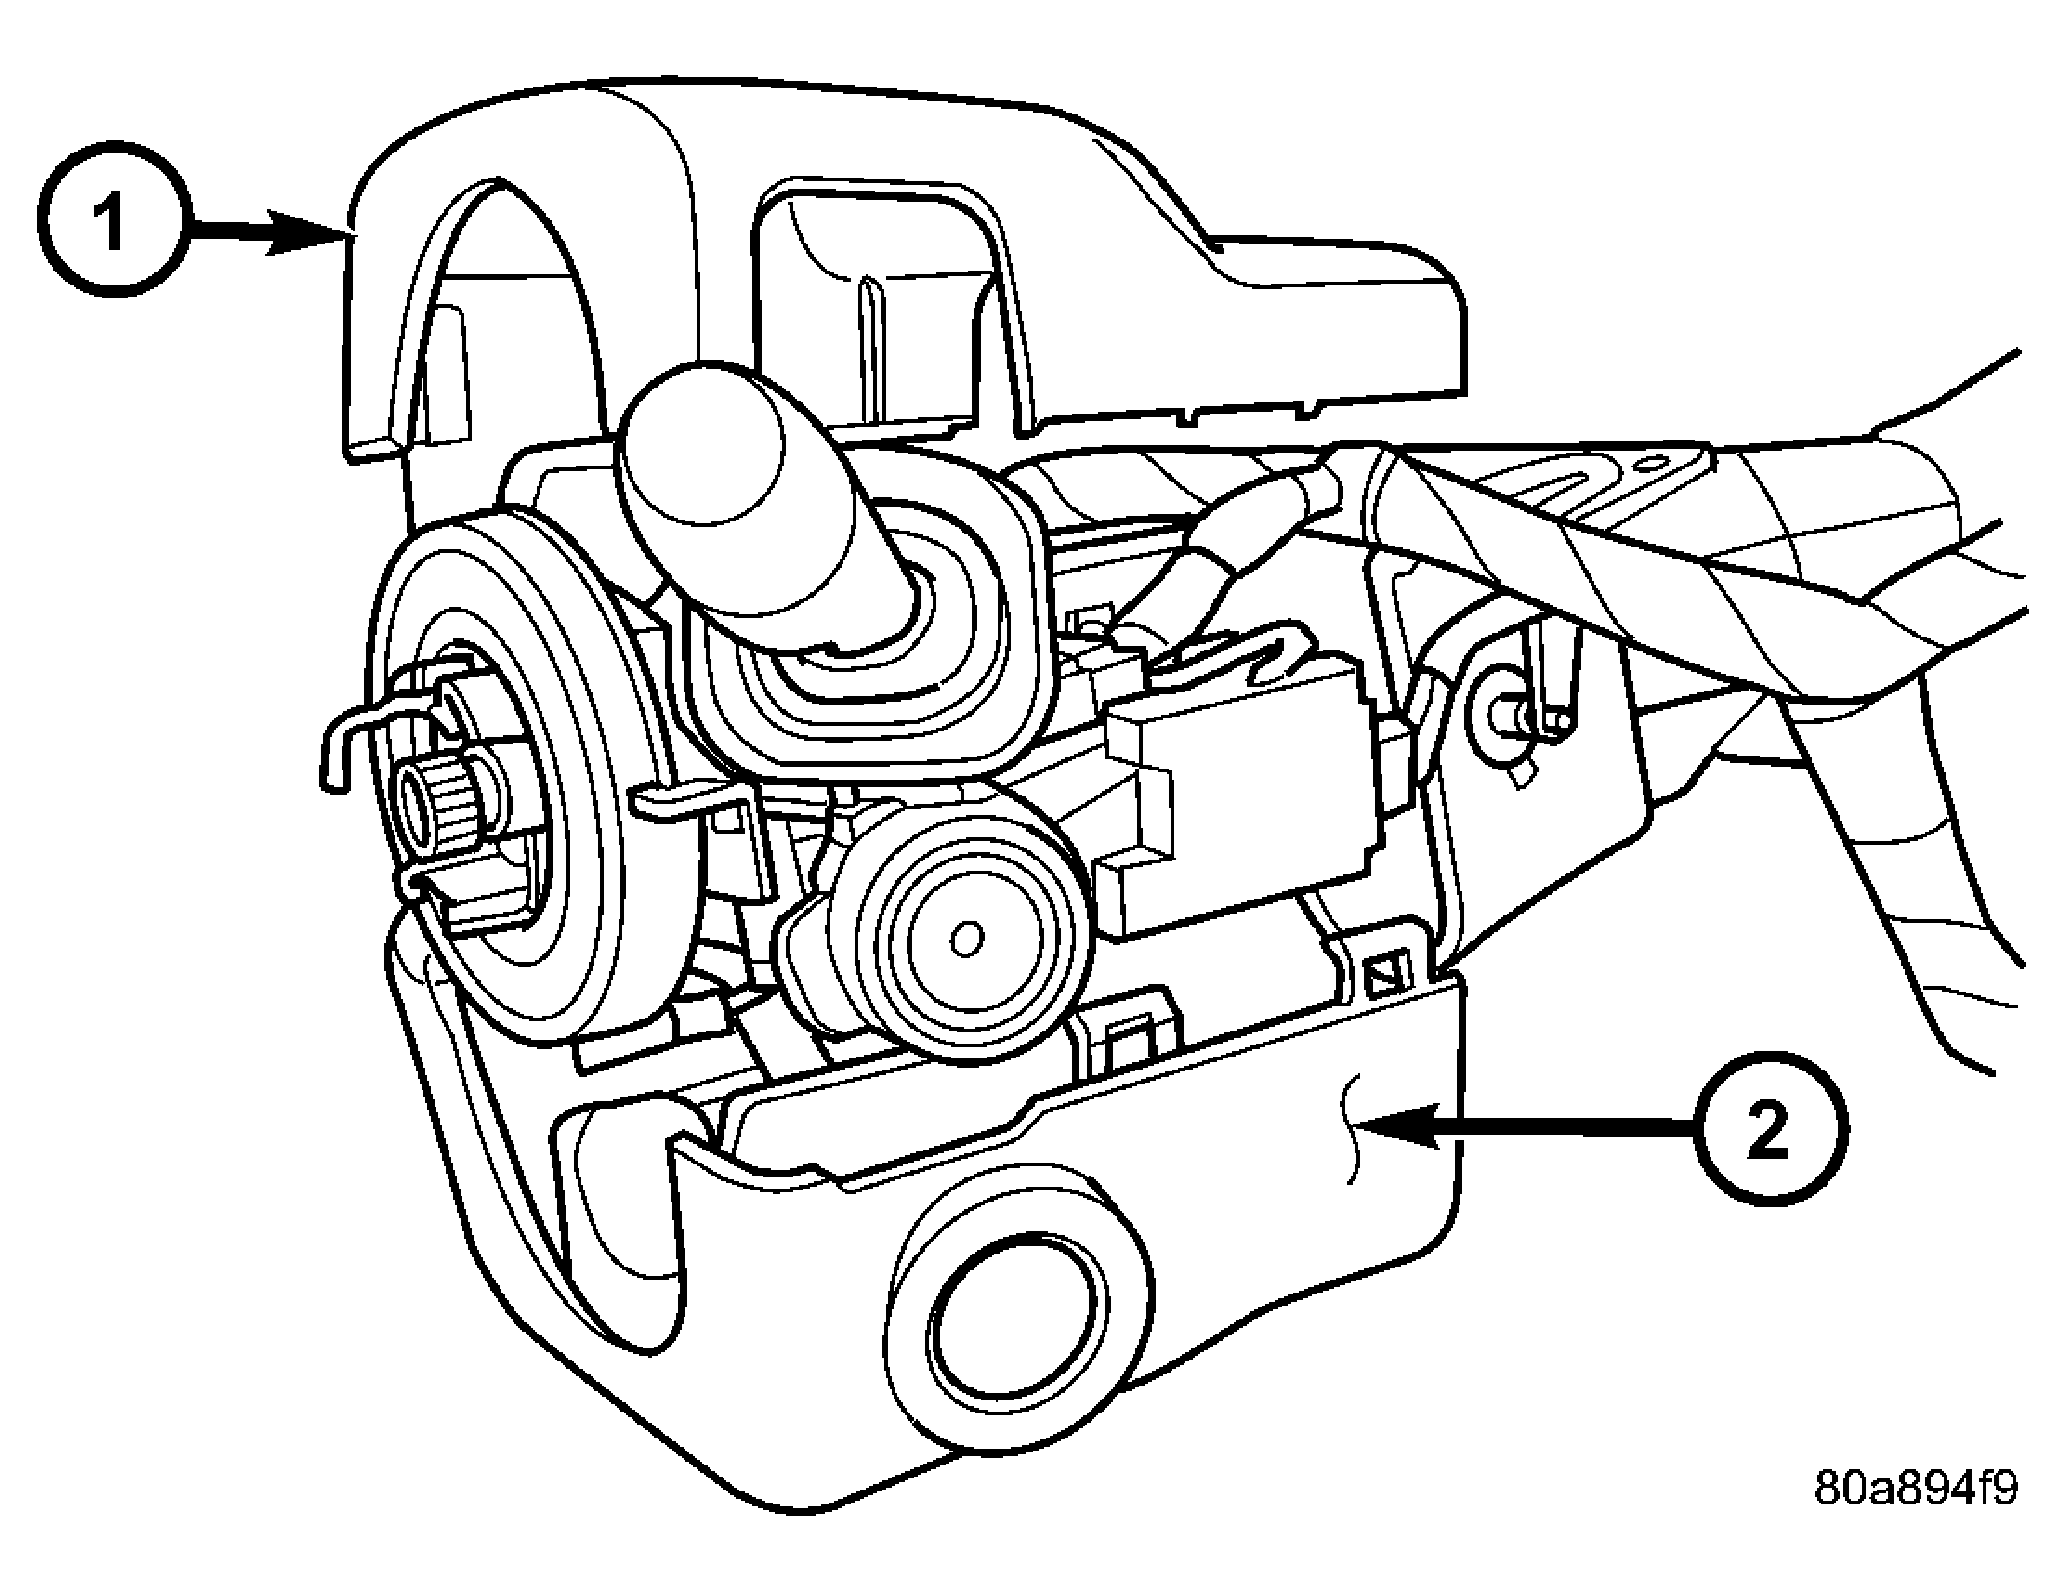
| 1 - Upper Shroud |
| 2 - Lower Shroud |
- Snap together the column shrouds (1&2) and install the mounting screws. See Fig 5.
 Courtesy of CHRYSLER LLC
- Install the steering column opening cover. Refer to INSTALLATION
.
NOTE:
Do not reuse the old steering wheel bolt (a new bolt must be used)
NOTE:
Be certain that the steering wheel mounting bolt is tightened to the proper torque specification to ensure proper clockspring operation.
- Install the steering wheel and tighten bolt to 54 N.m (40 ft. lbs.). See INSTALLATION .
NOTE:
If equipped with cruise control, connect clock spring harness to cruise switch harness on the steering wheel.
- Install the airbag. Refer to INSTALLATION
.
- Install the negative battery terminal.