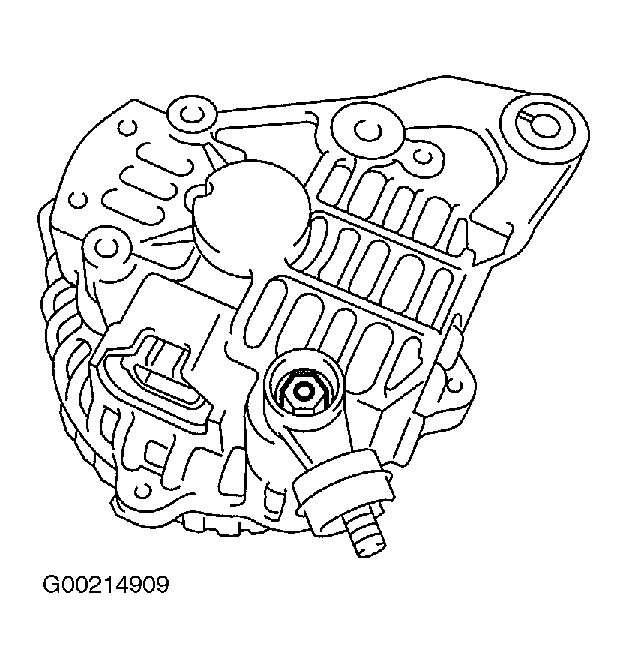
Section 76 (Generators & Regulators): Overhaul: Generator: Disassembly
WARNING: This page is about a different car, the 2004 Subaru Legacy. However, it is still accessible from the selected car via links, so may be relevant.
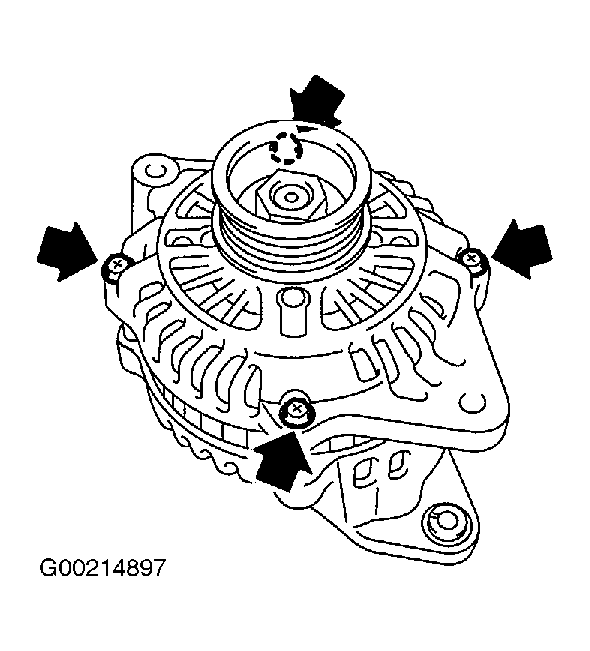
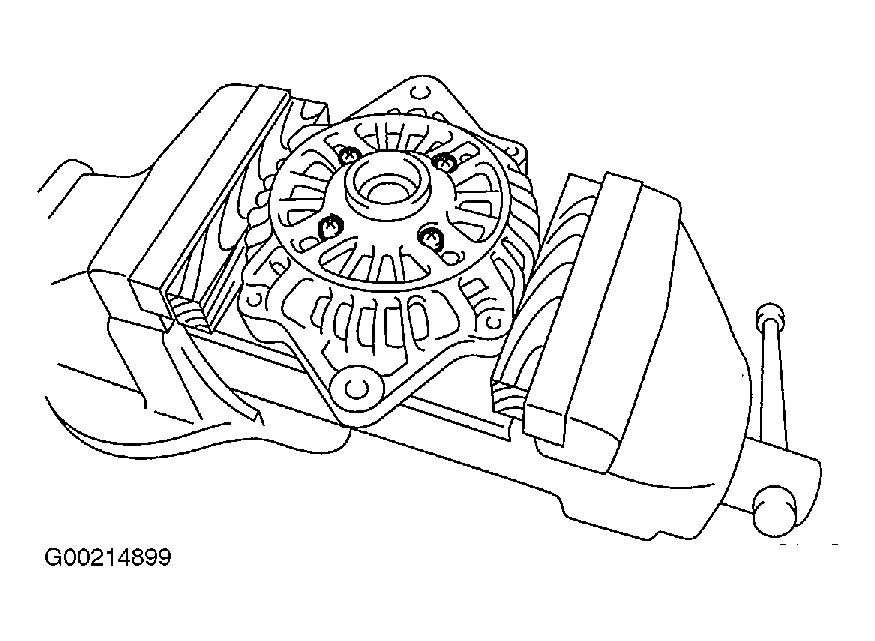
- Remove the 4 through-bolts shown in Fig 1.
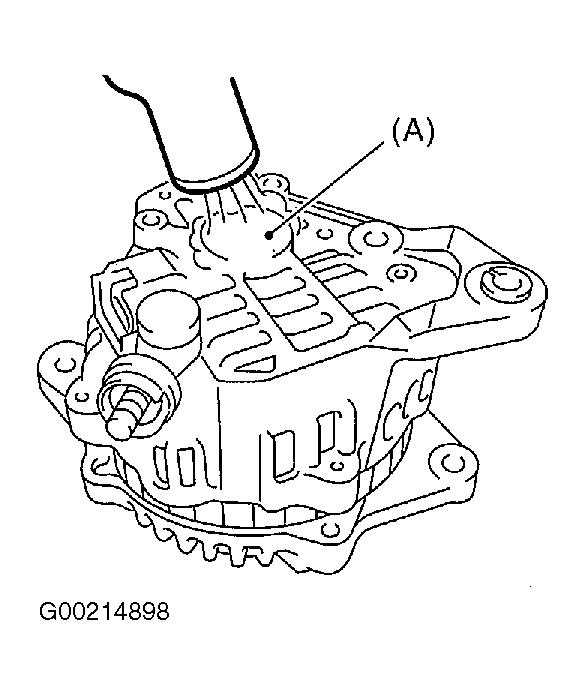
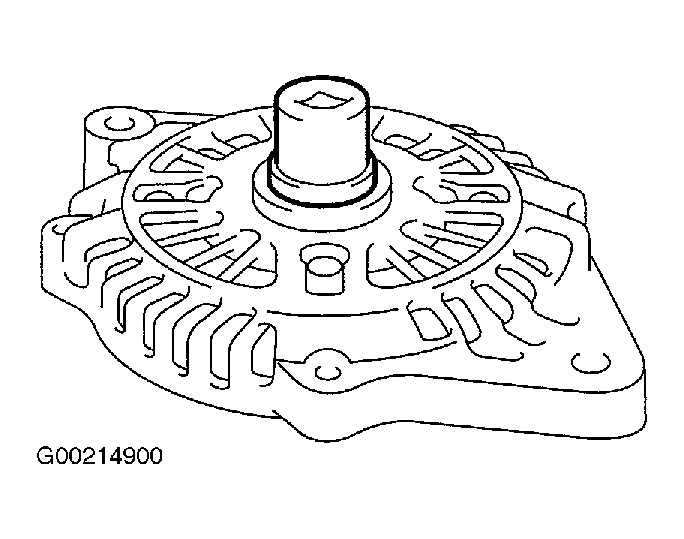
- Heat the portion (A) of rear cover to 122°F (50°C) with heater drier. See Fig 2.
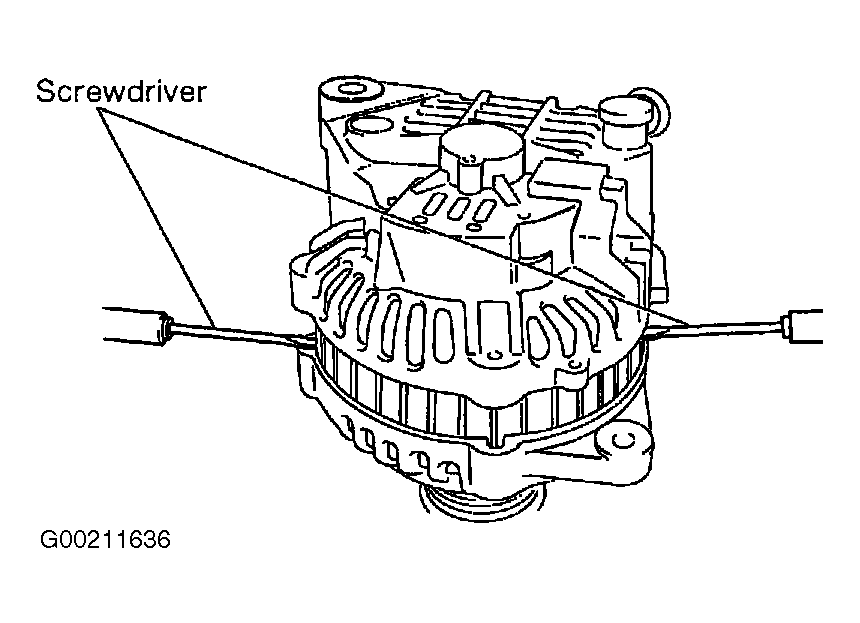
- Insert the tip of a flat-head screwdriver into the gap between the stator core and front cover. Pry them apart to disassemble. See Fig 3.
CAUTION:
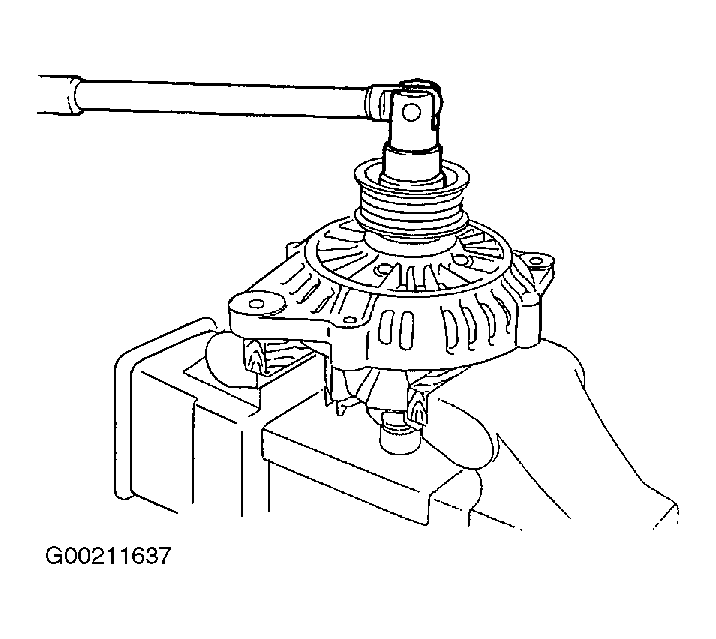
To prevent rotor damage when holding rotor with vise, insert aluminum plates or wood pieces on vise's contact surfaces.
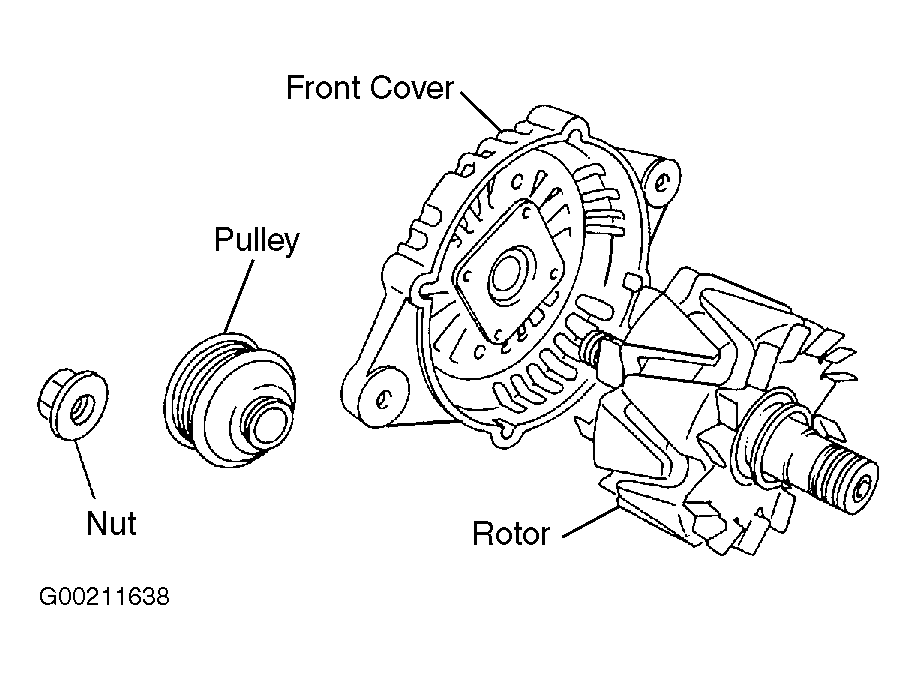
- Hold rotor with a vise and remove pulley nut. See Fig 4 and Fig 5
.
CAUTION:
Rectifier cannot withstand heat well. Finish below steps rapidly (less than three seconds).
- Remove the ball bearing as follows:
- Remove bolt, then remove bearing retainer. See Fig 6
- Firmly install to bearing inner race an appropriate tool, such as a fit socket wrench. See Fig 7.
- Push the ball bearing off the front cover using a press.
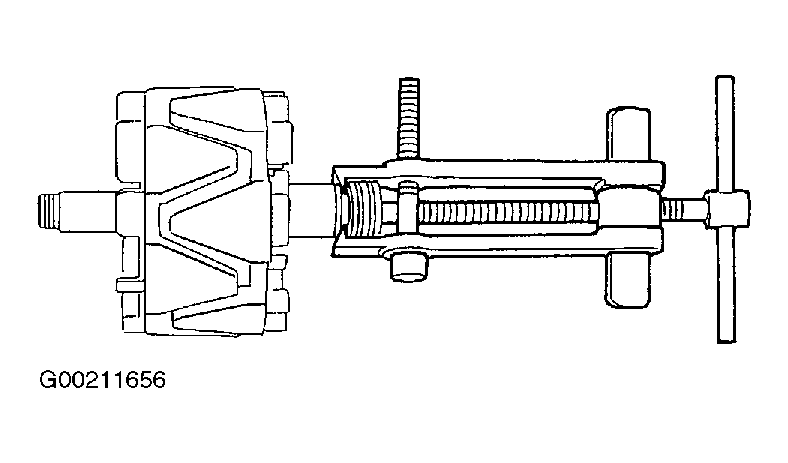
- Remove bearing from rotor using a bearing puller. See Fig 8.
CAUTION:
The rectifier cannot withstand heat well. Do not allow the 180-270 watt soldering bit to contact the terminals for more than 5 seconds at a time.
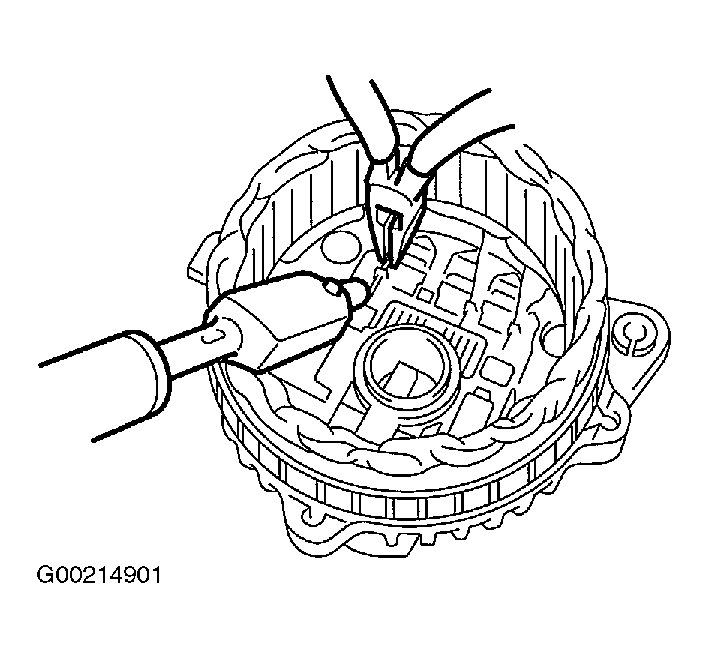
- Unsolder connection between rectifier and stator coil to remove stator coil. See Fig 9.
- Remove IC regulator as follows:
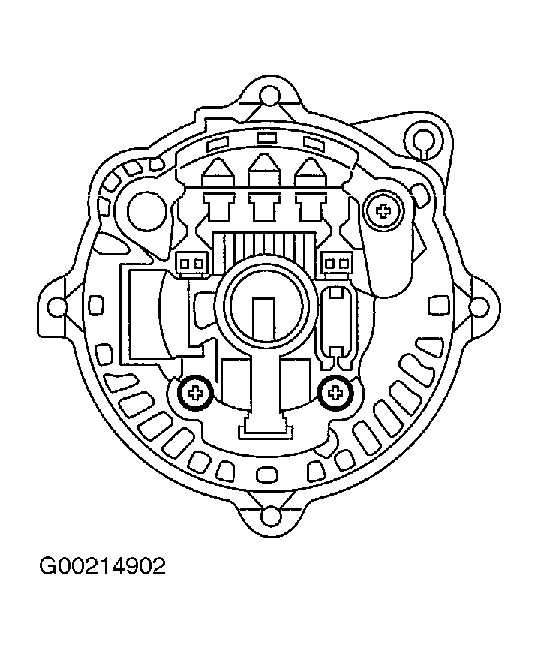
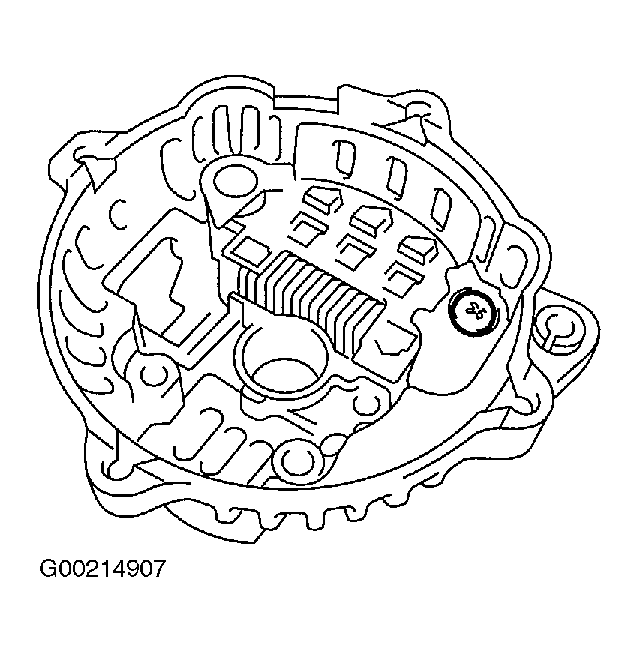
- Remove screws that secure the IC regulator to the rear cover. See Fig 10.
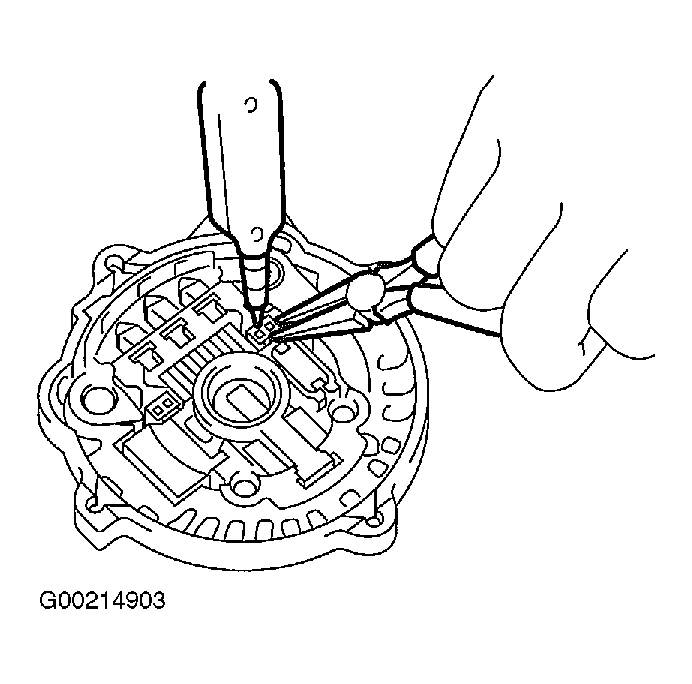
- Unsolder connection between IC regulator and rectifier to remove IC regulator. See Fig 11.
- Remove brush as follows:
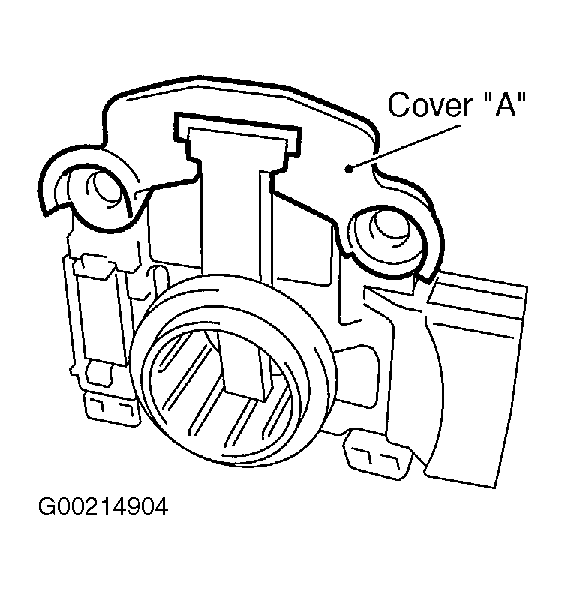
- Remove cover A. See Fig 12.
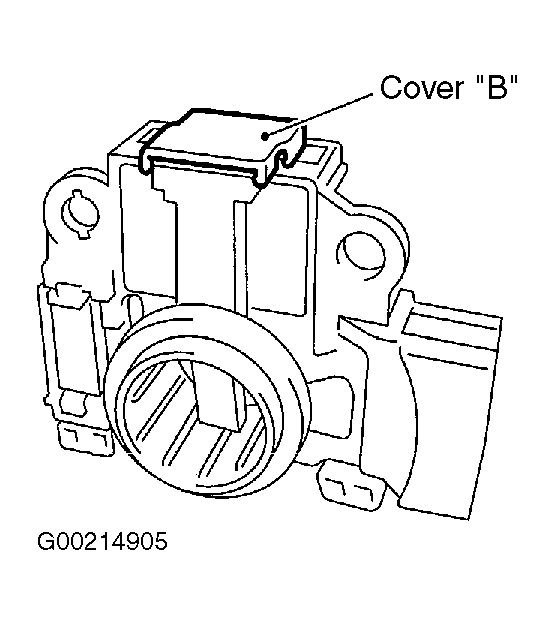
- Remove cover B. See Fig 13.
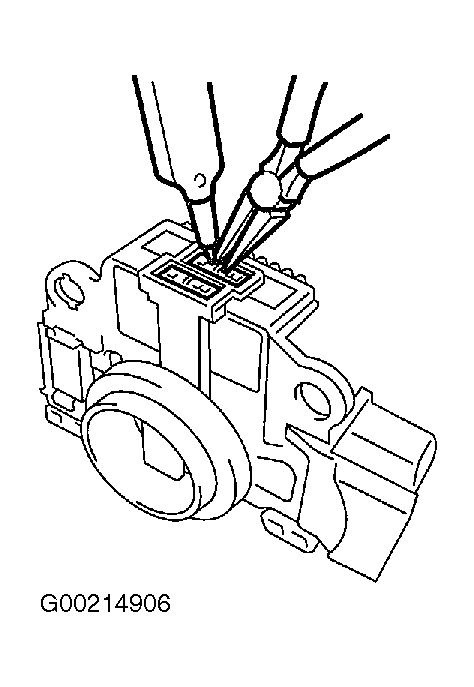
- Separate brush from connection to remove. See Fig 14.
- Remove rectifier as follows:
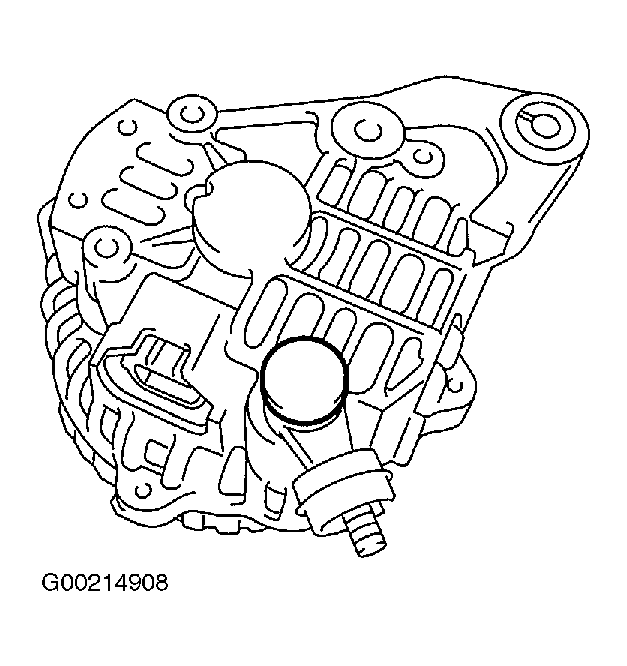
- Remove bolts that secure rectifier. See Fig 15.
- Remove terminal B's cover. See Fig 16.
- Remove nut from terminal B. See Fig 17. Remove rectifier.
 Courtesy of SUBARU OF AMERICA, INC.
 Courtesy of SUBARU OF AMERICA, INC.
 Courtesy of SUBARU OF AMERICA, INC.
 Courtesy of SUBARU OF AMERICA, INC.
 Courtesy of SUBARU OF AMERICA, INC.
 Courtesy of SUBARU OF AMERICA, INC.
 Courtesy of SUBARU OF AMERICA, INC.
 Courtesy of SUBARU OF AMERICA, INC.
 Courtesy of SUBARU OF AMERICA, INC.
 Courtesy of SUBARU OF AMERICA, INC.
 Courtesy of SUBARU OF AMERICA, INC.
 Courtesy of SUBARU OF AMERICA, INC.
 Courtesy of SUBARU OF AMERICA, INC.
 Courtesy of SUBARU OF AMERICA, INC.
 Courtesy of SUBARU OF AMERICA, INC.
 Courtesy of SUBARU OF AMERICA, INC.
 Courtesy of SUBARU OF AMERICA, INC.